It’s time I look back at one of my very first JavaScript work and roast it.
It was 2014, I had recently finished JavaScript and JQuery lessons from Codecademy. It was about time I build something with my knowledge.
At that time I didn’t know what actually JQuery was. I thought it’s another language like JS. Now I know well that, JQuery is a library which goes on top of JavaScript. It makes writing code a little bit easier.
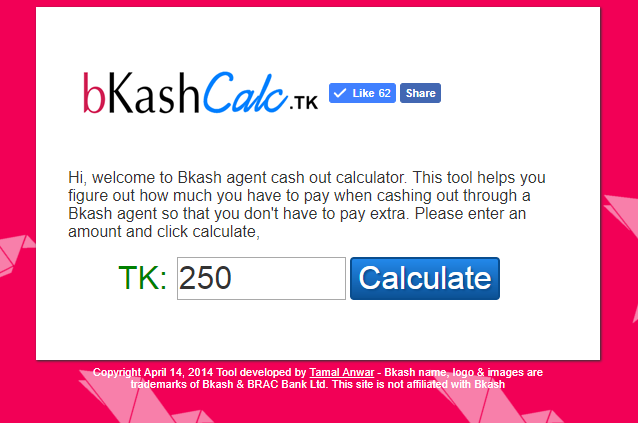
An overview of what I am going to build:

There is a mobile payment service in Bangladesh called Bkash. You can use the service to pay friends. They charge a % for every time you want to cash out from your wallet.
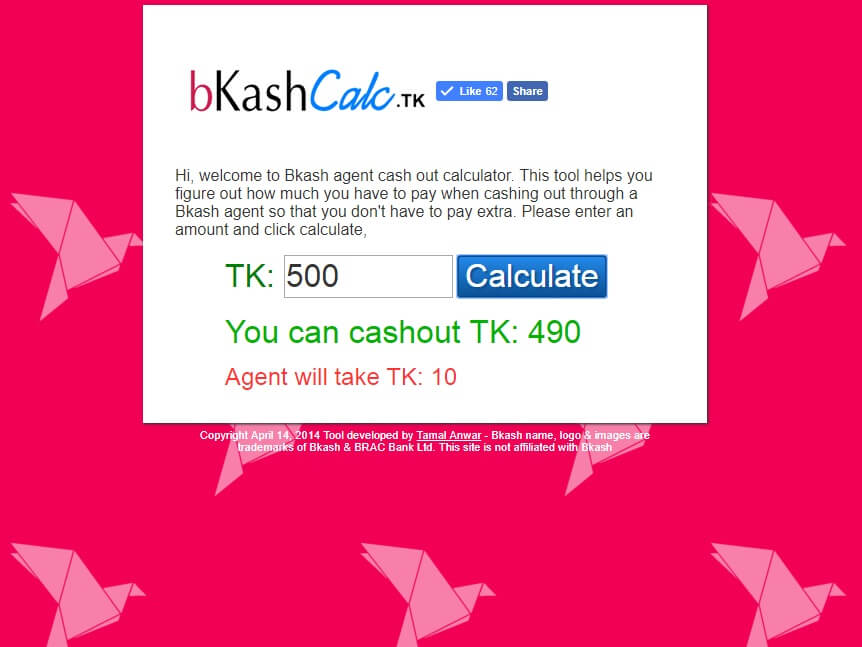
The idea was simple,
- Have a text field so people can input an amount
- Click on the button to calculate the result
- The fee amount will show up
I could not sleep the previous night. So I got up to my computer with enthusiasm. I built the logic first.
While trying to work on it, I learned the hard way: following a tutorial is easy but building something on my own doesn’t always behave the same way.
The JavaScript
Looking at my code, I rush coded a lot. I did not comment on the code, I didn’t even use semantic variable names.
var $b = $('input[name=bkashamount]').val()
var $c = $cashout()
Variable $b should have been called balance.
$c should have been change.
I also didn’t add a class or ID for the input button text, which would’ve to make my life a bit more easier.
So you see all the code is a mess and harder to follow through.
The conditional logic tree was the hardest part.
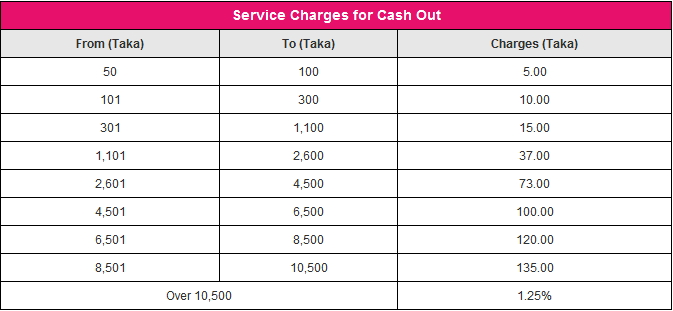
It took me more than an hour to create a simple calculation to work. At the time of building the calculator, Bkash had a different fee structure.
Their fee % varies on the amount you are cashing out.

So I had to write a long set of conditions to fit the fee structure.
It was a really long (6-8) steps of else if codes.
It was a nightmare to make this work. So after I was done, I could display both a smaller amount and a larger amount with the correct fee.
New Fee Structure
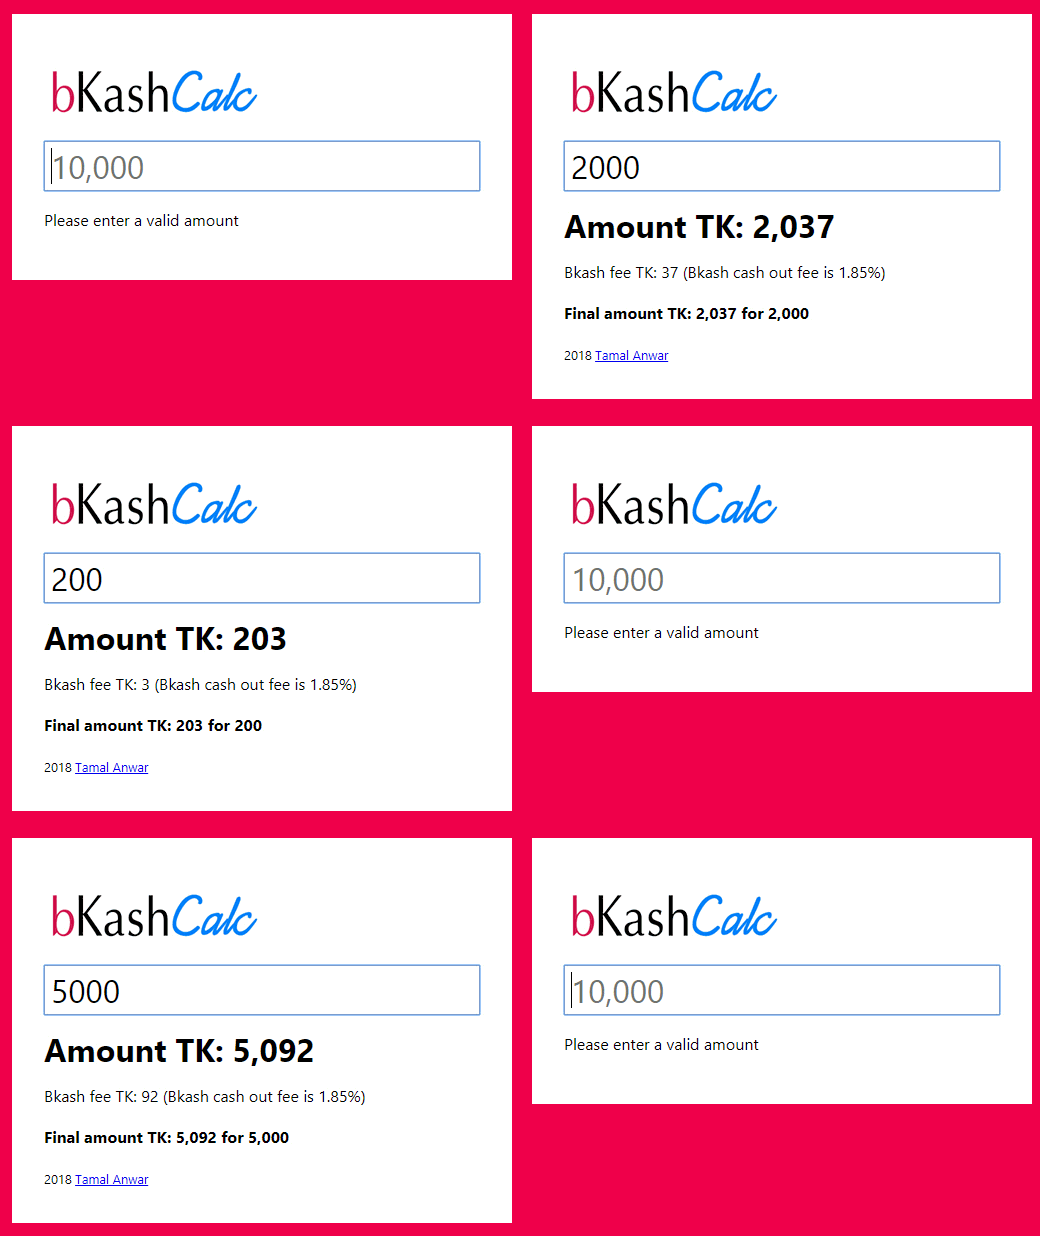
Right after I implemented the cumbersome fee, I did a lookup online and found that Bkash now has a simplified fee structure.
What you know, they now have 1.85% flat fee for any amount you wanna cash out.

If I had known this earlier, it would have saved me a lot of trouble.
Anyways, I implemented the new fee structure.
After a few tweaks and checking my code part was ready.
HTML Page
The site has just a single HTML page for the view. It was the first time I coded a page without the help of the Bootstrap framework. At the time I did not know how to create a container in the middle so I used a table markup.
<table>
<thead>
</thead>
<tbody>
<td>
<td><h1><a href="/"><img src="images/logo.png"/></a></h1></td>
<td><iframe src="//www.facebook.com/plugins/like.php?href=https://tamalanwar.github.io/bkash-calc/%2F&width&layout=button_count&action=like&show_faces=false&share=true&height=21&appId=114661981960459" scrolling="no" frameborder="0" style="border:none; overflow:hidden; height:21px;" allowTransparency="true"></iframe></td>
</tr>
</tbody>
</table>
A table really?
Look, I also invented a new HTML tag called the <wrapper> wow!
Other than these rookie mistakes, the final design was good. It also had Facebook open graph tags which looked nice when I shared on social media.
 I also registered a free domain name BkashCalc.tk to host it.
I was happy and proud to share my work. Overall it was a good first project.
You can have a look at the working version here and the source code on Github.
Since then I made a new Bkash calculator with React:

I don’t have the live version up but you can have a look at the source code.
Comments:
Morol: I still remember the days when you first launched this app. 🙂
And this has been a pure roasting. 🙂
Tamal: Thank you for following me from those days buddy! One thing I regret is, there has been a huge gap from those days to recent times. I wish I stick with just one path. Ohh yeah, I am thinking about roasting my own stuff from now on, whenever I can feel creative. Feels good to tinker with old stuff 😀
